RasPiO® Duino – Low Cost Easy Way into Arduino Programming on the Raspberry Pi
If you just got your RasPiO® Duino in the post, these three links will be useful for you…
- RasPiO® Duino Assembly Guide
- RasPiO® Duino Software Setup Video
- RasPiO® Duino Full User Guide & Arduino Programming Instructions
If you haven’t got a RasPiO® Duino yet, read on to find out what it’s all about…
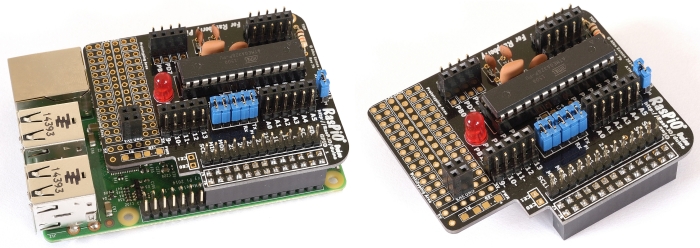
The RasPiO® Duino is a small plug-on board for Raspberry Pi. It has similar functionality to an Arduino Uno, but is fully programmable from the Raspberry Pi. Once programmed, it can be removed from the Pi and used on its own.
It can also be used interactively with the Pi. The Pi’s GPIO ports are also broken out on the board as well. There’s a 72 point prototyping area, with GND, 3V3 and 5V rails, where you can add your own components.
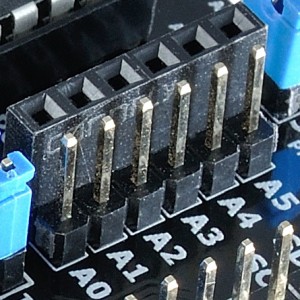
As with other RasPiO® boards, all the ports are clearly labelled and there are lots of options. Each of the useful pins on the ATMega are broken out to a cluster of three holes. Male and female headers are provided, so you can connect whatever you like to your RasPiO® Duino.
Low Cost, Easy Introduction to Arduino Programming on the Pi
RasPiO® Duino is an easy, low-cost introduction to Arduino programming on the Raspberry Pi. The RasPiO® Duino kit costs £12 + shipping and contains everything you need to start Arduino programming (as long as you already have the Pi).
Learn Arduino Programming with RasPiO Duino
- brief technical information
- a brief build guide (with links to in-depth assembly instructions)
- comprehensive software installation instructions
- lots of example sketches and walk-throughs showing how to use the capabilities of the board
- links to the RasPiO Duino github repository
- an easy-install script for the sketches
- high-quality diagrams and photographs
- 47 pages of educational inspiration, discovery and fun
You can download it here, or by clicking the cover image.
How Long to Build and Get Going?
RasPiO® Duino takes about 30 minutes to build, if you’ve done some soldering before.
Once built, the software installation on the Pi (internet connection needed) will take about another 15 minutes, then you should be ready to go.
There’s an LED on pin 13, so the standard ‘blink’ sketch should work unchanged, once you’ve set everything up. Full instructions and some examples are provided on Github.
Where Can I Buy One?
Right here, right now using any credit/debit card or Paypal account.
RasPiO® Duino is also available from The Pi Hut, Pimoroni and Pi-Supply.
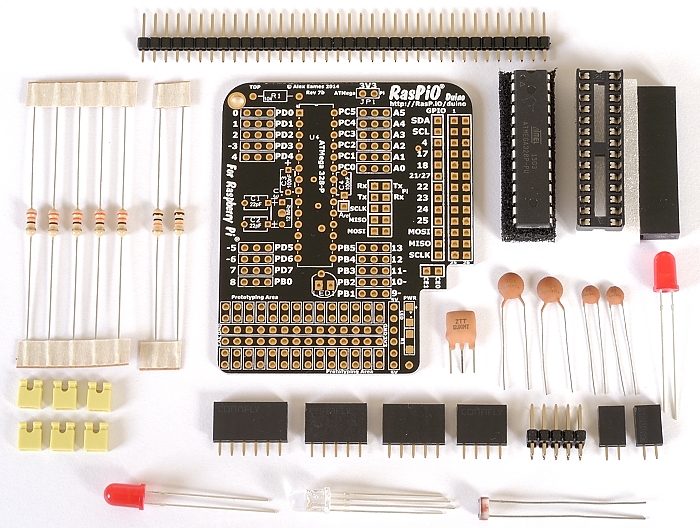
Kit Contents
How Do You Program It?
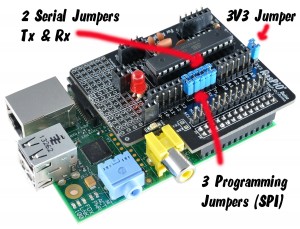
For programming, we add three jumpers to connect the micro-controller’s SCLK, MISO & MOSI directly to the Pi’s corresponding pins.
For two-way serial communication with the Pi, if you need it, you can add two more jumpers to connect the Pi and ATMega’s Rx and Tx serial ports.
RasPiO® Duino uses the ATMega 328P-PU which is the same micro-controller chip as both Arduino Uno and Gertboard. It has a 6 channel analog to digital converter (ADC) and 14 digital I/O pins, 6 of which can also be used for PWM.
More Advanced Stuff
RasPiO® Duino is great for beginners, but it’s not just for beginners. There’s a host of optional features that can be used by more advanced users.
Power Options
The RasPiO® Duino runs on 3v3 at 12 MHz (not 5V at 16 MHz like the Uno).
You can power RasPiO® Duino either…
- from the Pi’s 3v3 supply (default), by connecting the jumper at the top of the board
- or using a 3v3 regulator e.g. LD1117V33 at the bottom of the prototyping area, add a wire to connect the 5V rail and two capacitors to stabilise it. (not provided)
Set Your Own Aref
If you want to choose a different analog voltage reference, Aref (<3v3), you can cut one track on the back of the board, add a capacitor and a header pin and connect your voltage reference. This can offer greater measurement precision with things like temperature sensors.
Use Surface Mount Components if You Want
The PCB has some surface mount pads on the back if you prefer to use surface mount capacitor(s) and resistor(s) to free up space on top (not provided). There is also a pad to add an optional ‘power on’ LED on the front (not provided).
Other Optional Tweaks You Could Do (not provided)
You could add a…
- through-hole ‘power on’ LED using a small part of the prototyping area
- 3v3 regulator LD1117V33 & 2 caps for higher power circuitry
- ZIF socket for quick and easy programming of ATMega chips
What RasPiO® Duino Doesn’t Do!
RasPiO® Duino isn’t
- designed to take standard arduino shields.
- an Arduino clone. It has different shape, size and pin arrangement and runs at 12 MHz on 3v3.

